Today's save the scraps project is the tooth pillow, I made one for Amalie, she hasn't lost any teeth yet ,but she is very excited about it. This pillow can hang on her door knob so the tooth fairy won't wake her up in the middle of the night.

I also plan on selling these in my etsy shop.

What you will need:
*scrap fabric
*fiber fill
*ribbon

Cut 2 pieces of fabric for the pillow, I cut mine 6in. x 8in. and one piece of fabric for the little pocket that holds the tooth, I cut mine 3in. x 4in.

Start with the smaller piece of fabric, fold one of the wider side down about half an inch and pin it.

Sew the flap down.

Now cut the tips of the corners off of the sewn flap and fold the sorter sides in about half in inch, I pinned these down on the opposite side of the folds.

Fold the corners at the bottom in on both sides as shown, then fold the bottom up about a half inch and pin on the other side.
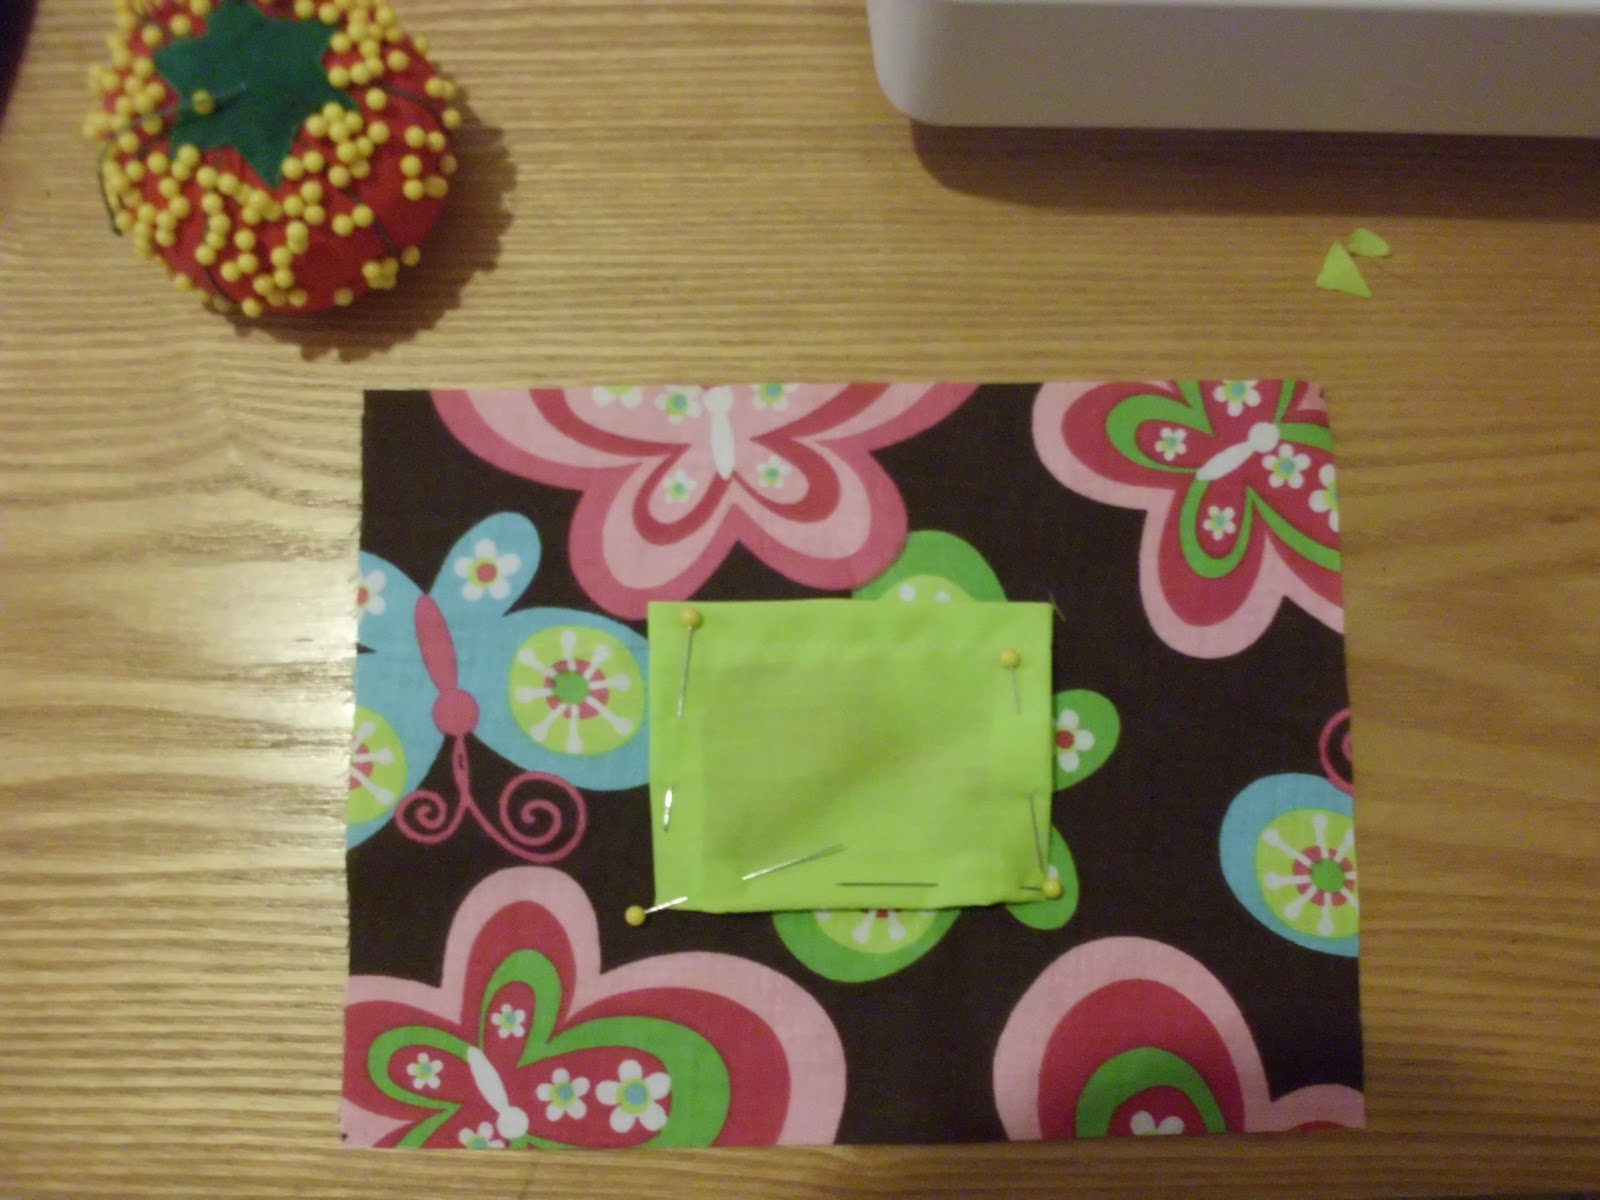
Center the pocket onto the pretty side of one of the bigger pieces of fabric with the sewn seem up. Carefully pull the pins out and pin the pocket to the pillow; do this one pin at a time and hold the sides of the pocket so they don't unfold.

Sew on pocket on the sides and bottom at 1/8 inch, leaving the top open.
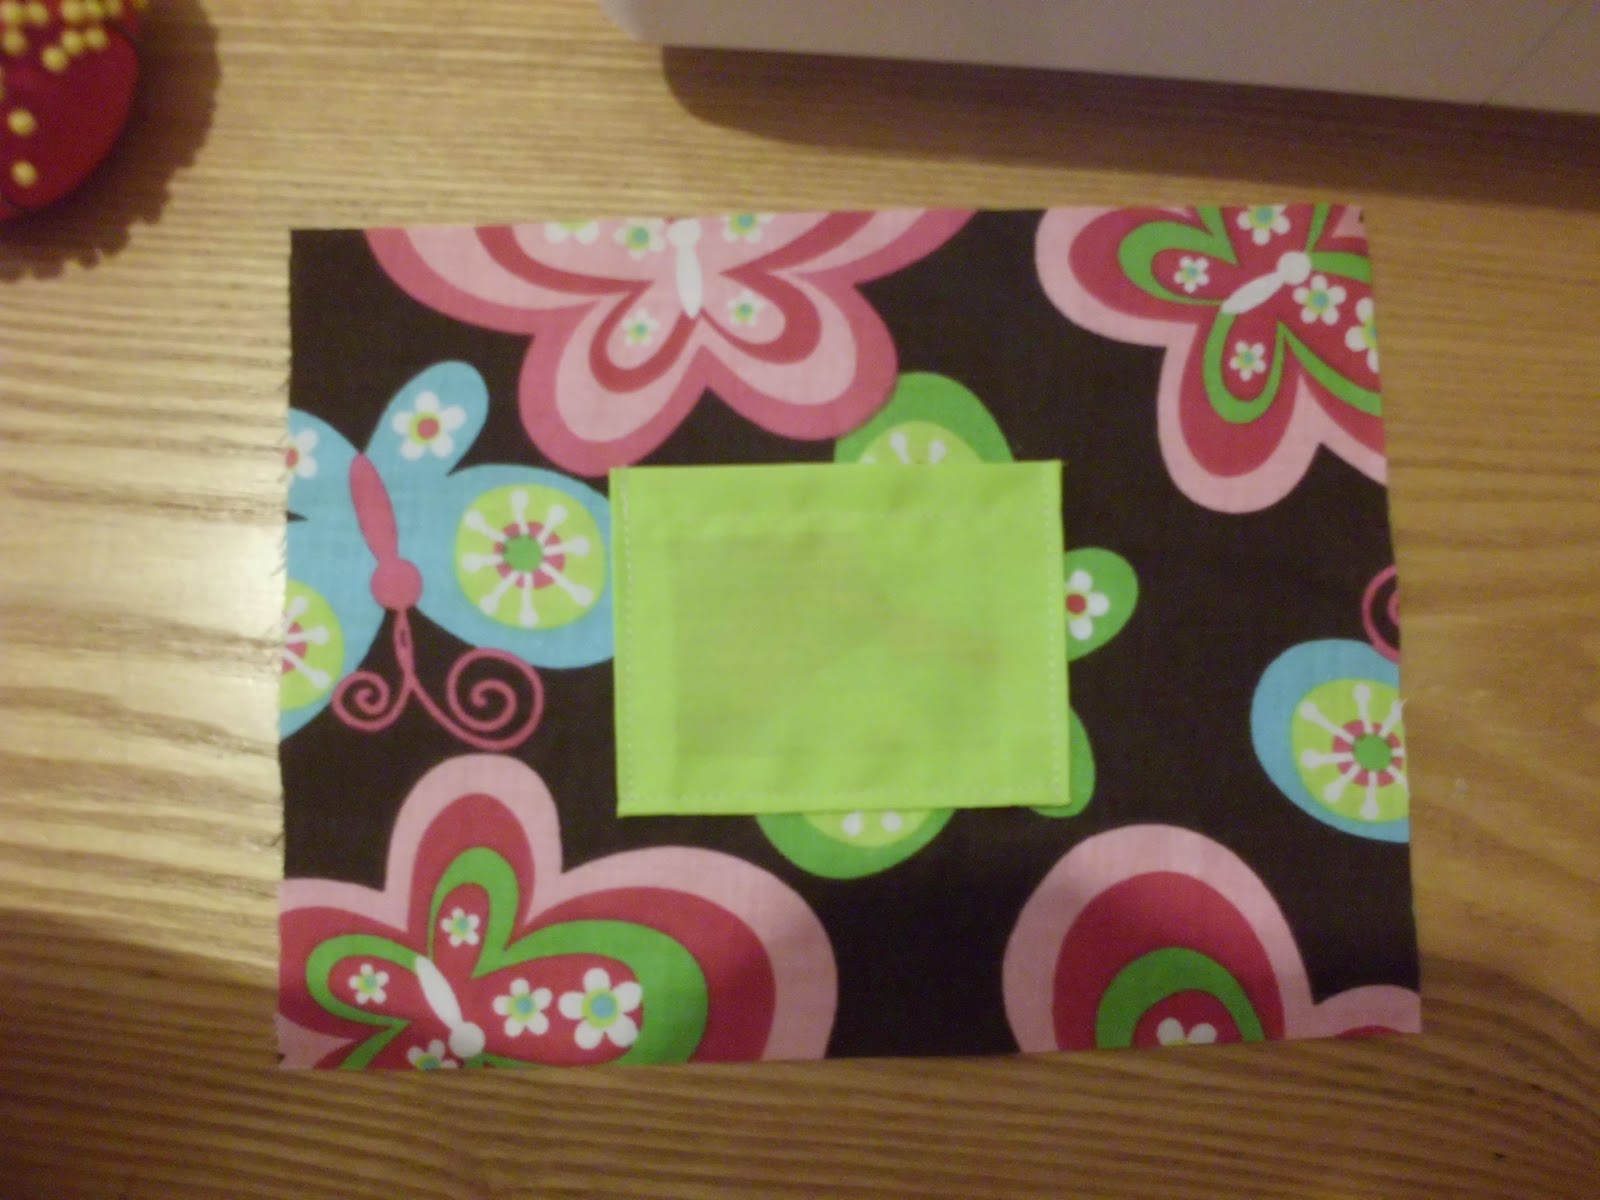
Here is the finished pocket.

Now cut your ribbon the the desired length, I cut mine to about 30 in. now pin ends of the ribbon to the top of your pillow as shown, I left 1/2 in. on the sides.

Coil the ribbon onto the center of the fabric like shown.

Put the other side of the pillow on top, pretty sides together, pin all around your pillow. Make sure to re-pin your ribbons and pull the original pins out after you re-pin.

Start sewing on the bottom of the pillow and sew all the way around at 1/2 in. seam, leave a hole about 2 to 3 in. wide to flip and stuff your pillow. Make sure the you sew the side with your ribbon completely, you don't want your hole on that side, it will just make everything harder. Clip the corners like shown.

Turn right side out, if you need to you can use scissors to push the corners out from the inside.

Now stuff the pillow, push the fiber fill into the corners.

Here is the pillow stuffed.


To close the holes you can do a top stitch across the hole with your machine or you can do a blind stitch, I took pictures of me doing it, but if you can't see them too well you can also go here.

Here is a loose blind stitch...

...and when you pull it tight the stitches disappear. Finish your pillow and tie off the thread.

Here is the finished pillow!
No comments:
Post a Comment