OK, I decided that I wanted to post a tutorial, so I settled on the rag quilt; its one of my favorite things to make, and I've gotten pretty good at them. They are absolutely beautiful and are very warm, so lets get started!

For this tutorial, I'm making a 3x3 rag quilt, its a great size for an infant car seat, or for a comfort blanky, or for a little girls baby dolls.

These are things you will need:
*2 flannel fabrics, cut at a half yard each
*pins
* rotary cutter
*cutting table
*ragging shears
*and, of course, a sewing machine
Now you don't have to have use a rotary cutter, you can use scissors, but it is much easier to make all the squares the same size with a a rotary cutter. Also the ragging shears are optional as well, again you can use scissors, but it is much easier on your hands with the shears.(I got my shears at a local sewing shop, but you can get some at amazon.com, they are a bit expensive, but they are a great investment if you plan on making a lot of rag quilts.)

Start by cutting your fabric into squares: I cut mine into 7x7 inch squares, for the same size blanket I made you will need 9 squares of each fabric.


Next, layer two squares; one of each fabric, on top of each other pretty sides facing out.

Pin the pieces together so they are easier to sew, I usually only pin two sides opposite each other.

Now for the tedious part; sew your squares together going all the way around with a half in seam. Do this for all 9 of your layered squares.

Next, lay out the squares in the pattern you want; for mine I turned 4 of the squares over to the pink part and did a checkered pattern. (This is the time to make sure that all your fabric is facing the same direction, check the back of your squares too.)

Now grab two squares like shown in this picture....

.....and pull them together like this picture (you want the sides of the squares that are going to be the back of the blanket to be touching each other.)

Pin the squares together like this picture shows. Try to line up the seams of the squares as best as you can.

Do this with all three rows, when you are done, it should look something like this.

Sew the squares together with a 5/8th inch seam; I do a 5/8th inch seam to make sure that the first seam I made to hold the individual squares together won't show on the back of the finished quilt; it also gives you more room when you start the clipping process.

Now I am very paranoid about construction, so I always back stitch the ends of the quilts: sew for half an inch, and then back stitch for half an inch until you get to where you started, then sew the rest of the way until you get to the end. At that point back stitch half an inch, and then sew forward again until the end. I have noticed that it really reinforced the ends of the quilt. Repeat for all three rows.

Line up the rows, make sure that all your fabric is facing the same way again.

Now grab two rows like this; lining up the seams again. Just like last time, you want the sides that are going to be the back of the blanket to be touching.

To pin the frills together, line them up like this picture shows.
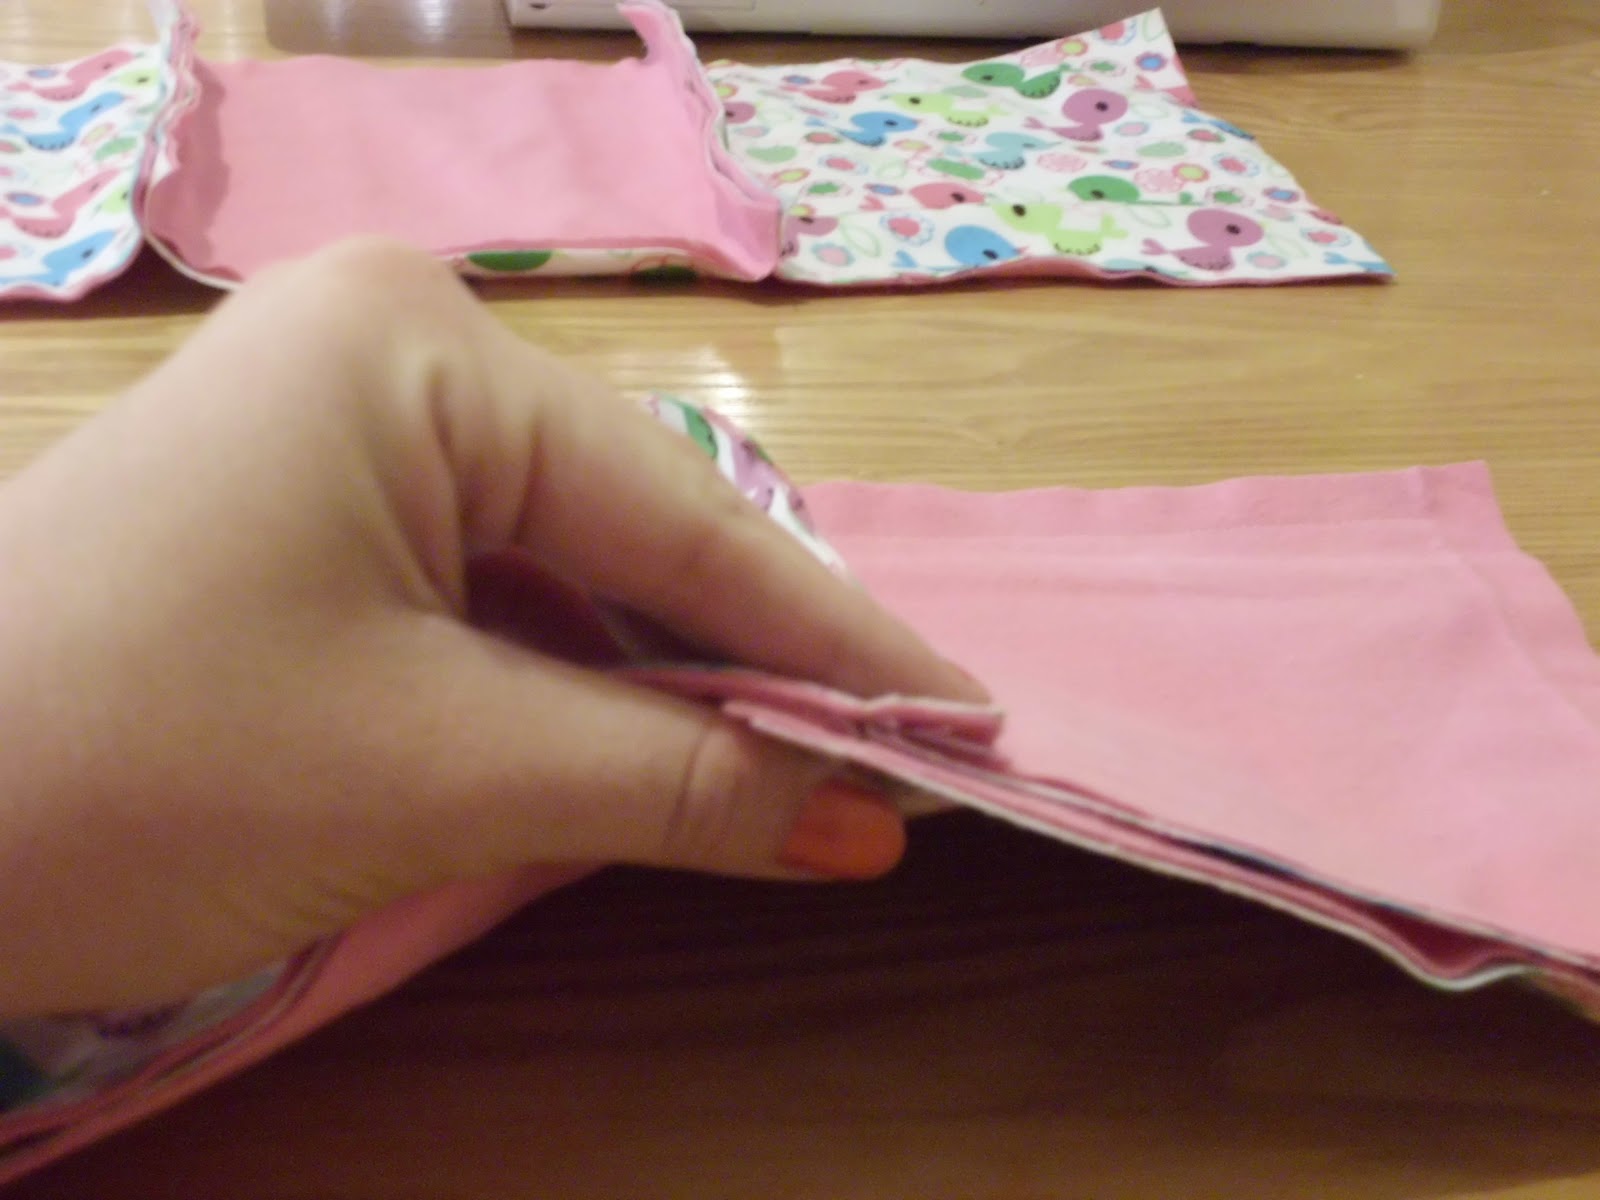
Now fold the top frill to the right, and the bottom frill to the left, then pin each frill.

After you pin it, it should look something like this.

This is to show how your pinning should look (sorry, its a little blurry).

Pin all three rows together.

Now stitch and back stitch the same way you did last time. When you get to the frills, pull out the pins right before you sew over them. (This is why folding the frills is necessary, the bottom frill is folded toward you so you don't have to worry about it folding the other way. If the top frill pops up you can stop and and fix it.)

I hold the frill like this so it won't pop up while it goes under the foot.

Sew the three rows together to look like this.

So now you can start clipping, grab your shears or scissors, and start cutting the edges of the quilt (Be careful not to cut any of your seams; you don't want your quilt to fall apart after you wash it.)


I cut about every quarter inch or so. Clip all the way around the quilt this way

To cut by the frills that were folded and sewn down, I get my shears as close to the seam as I can with out cutting it, and clip the ends free.

Clip on both sides and then continue to clip every quarter inch.

To clip the seams perpendicular to the frills in the last picture, clip the fabric on either side of the seam that is holding the blanket together, being careful not to cut the seam.

This is to show that the seam is in the middle and the fabric is clipped on either side of it. Continue to cut every quarter inch.


When you're done clipping, it should look like this.
Now you need to wash and dry your quilt to start the ragging; if you make a larger quilt, you may want to consider taking to a laundry mat. Washing the quilts produces a lot of lint and you may not want to risk messing up your machine, but with this size quilt I don't mind washing and drying it at home; but the decision is yours. (When your quilt is drying, you may want to empty the lint trap about half way through)


Now that your quilt is washed and dried, there may be pills on the blanket, I have a sweater shaver that I use to get these off to make the quilt look nicer, you can also use a sweater stone. (I got my shaver at amazon.com.) I hope this tutorial was understandable and easy to follow, if you have any questions, feel free to message me. Thanks for reading.
Good job! Look forward to future posts as well.
ReplyDeleteThank you!!
Deletebeautiful tutorial chickies!!! makes me want to make a quilt again lol. <3
ReplyDelete